
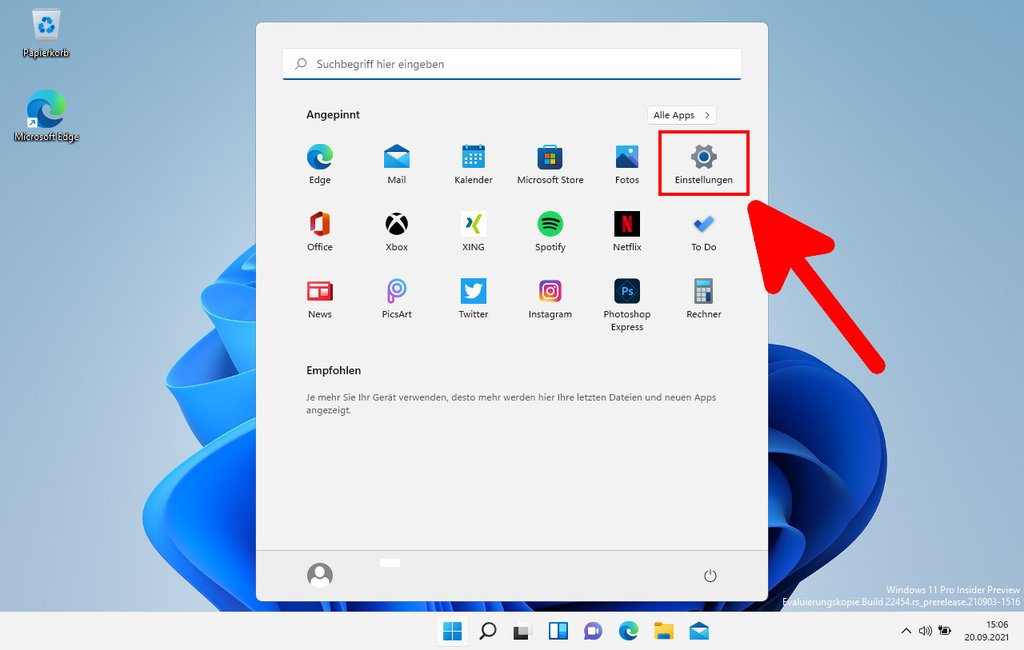
Die meisten Windows-Systemeinstellungen lassen sich mit der klassischen Kommandozeile oder per PowerShell konfigurieren. Warum also nicht die Konfiguration eines neuen oder neu aufgesetzten PCs ein Stück weit automatisieren?
Dazu öffnet einfach die Windows PowerShell als Administrator und fügt die entsprechenden Kommandos ein, die ihr nutzen wollt:
Den Dark Mode aktivieren
Die Taskleiste anpassenSet-ItemProperty -Path HKCU:\SOFTWARE\Microsoft\Windows\CurrentVersion\Themes\Personalize -Name SystemUsesLightTheme -Value 0 -Type Dword -Force Set-ItemProperty -Path HKCU:\SOFTWARE\Microsoft\Windows\CurrentVersion\Themes\Personalize -Name AppsUseLightTheme -Value 0 -Type Dword -Force
Datei-Explorer öffnen für: Dieser PC, statt Schnellzugriff# Entferne Widgets von der Taskleiste $ErrorActionPreference = "SilentlyContinue" $taskBar = New-itemproperty "HKCU:\Software\Microsoft\Windows\CurrentVersion\Explorer\Advanced" -Name "TaskbarDa" -Value "0" -PropertyType Dword $taskBar = reg.exe add "HKCU\Software\Microsoft\Windows\CurrentVersion\Explorer\Advanced" /v TaskbarDa /t REG_DWORD /d 0 /f $ErrorActionPreference = "Continue" # Entferne den Chat aus der Taskleiste $ErrorActionPreference = "SilentlyContinue" $taskBar = New-itemproperty "HKCU:\Software\Microsoft\Windows\CurrentVersion\Explorer\Advanced" -Name "TaskbarMn" -Value "0" -PropertyType Dword $taskBar = reg.exe add "HKCU\Software\Microsoft\Windows\CurrentVersion\Explorer\Advanced" /v TaskbarMn /t REG_DWORD /d 0 /f $ErrorActionPreference = "Continue" # Setze die Taskleisten-Ausrichtung auf links $ErrorActionPreference = "SilentlyContinue" $taskBar = New-itemproperty "HKCU:\Software\Microsoft\Windows\CurrentVersion\Explorer\Advanced" -Name "TaskbarAl" -Value "0" -PropertyType Dword $taskBar = reg.exe add "HKCU\Software\Microsoft\Windows\CurrentVersion\Explorer\Advanced" /v TaskbarAl /t REG_DWORD /d 0 /f $ErrorActionPreference = "Continue" # Entferne das Suchen-Symbol reg.exe add "HKLM\Default\SOFTWARE\Microsoft\Windows\CurrentVersion\Search" /v SearchboxTaskbarMode /t REG_DWORD /d 0 /f
Erweiterungen bei bekannten Dateitypen einblendenNew-ItemProperty -Path "HKCU:\Software\Microsoft\Windows\CurrentVersion\Explorer\Advanced\" -Name "LaunchTo" -Value "1" -PropertyType DWORD -Force | Out-Null
Wallpaper setzenPush-Location Set-Location HKCU:\Software\Microsoft\Windows\CurrentVersion\Explorer\Advanced Set-ItemProperty . HideFileExt "0" Pop-Location Stop-Process -processName: Explorer -force # This will restart the Explorer service to make this work.
# Falls der Command im Skript genutzt wird, kann hier automatisiert die Hintergrund-Grafik in den Bilder-Ordner ins Benutzerverzeichnis kopiert werden
# Die letzte Zeile im von diesem Code setzt dann entsprechend den Wallpaper aus dem Bilder-Ordner.
cp "$PSScriptRoot\Wallpaper.jpg" -Destination "$env:userprofile\Pictures\"

Function Set-WallPaper {
param (
    [parameter(Mandatory=$True)]
    # Provide path to image
    [string]$Image,
    # Provide wallpaper style that you would like applied
    [parameter(Mandatory=$False)]
    [ValidateSet('Fill', 'Fit', 'Stretch', 'Tile', 'Center', 'Span')]
    [string]$Style
)
$WallpaperStyle = Switch ($Style) {
    "Fill" {"10"}
    "Fit" {"6"}
    "Stretch" {"2"}
    "Tile" {"0"}
    "Center" {"0"}
    "Span" {"22"}
}

If($Style -eq "Tile") {
    New-ItemProperty -Path "HKCU:\Control Panel\Desktop" -Name WallpaperStyle -PropertyType String -Value $WallpaperStyle -Force
    New-ItemProperty -Path "HKCU:\Control Panel\Desktop" -Name TileWallpaper -PropertyType String -Value 1 -Force
}
Else {
    New-ItemProperty -Path "HKCU:\Control Panel\Desktop" -Name WallpaperStyle -PropertyType String -Value $WallpaperStyle -Force
    New-ItemProperty -Path "HKCU:\Control Panel\Desktop" -Name TileWallpaper -PropertyType String -Value 0 -Force
}

Add-Type -TypeDefinition @"
using System;
using System.Runtime.InteropServices;

public class Params
{
    [DllImport("User32.dll",CharSet=CharSet.Unicode)]
    public static extern int SystemParametersInfo (Int32 uAction,
                                                   Int32 uParam,
                                                   String lpvParam,
                                                   Int32 fuWinIni);
}
"@

    $SPI_SETDESKWALLPAPER = 0x0014
    $UpdateIniFile = 0x01
    $SendChangeEvent = 0x02

    $fWinIni = $UpdateIniFile -bor $SendChangeEvent

    $ret = [Params]::SystemParametersInfo($SPI_SETDESKWALLPAPER, 0, $Image, $fWinIni)
}

# Setzt Wallpaper. Attribute für Style: Fill, Fit, Stretch, Tile, Center oder Span
Set-Wallpaper -Image "$env:userprofile\Pictures\Wallpaper.jpg" -Style Fill
- Via Chocolatey, ein Paketmanager, der für die Windows-Kommandozeile entwickelt wurde. Damit lassen sich Anwendungen, wie unter Linux, automatisiert herunterladen, installieren und aktualisieren
# Chocolatey installieren Set-ExecutionPolicy Bypass -Scope Process -Force; [System.Net.ServicePointManager]::SecurityProtocol = [System.Net.ServicePointManager]::SecurityProtocol -bor 3072; iex ((New-Object System.Net.WebClient).DownloadString('https://community.chocolatey.org/install.ps1')) # Anwendungen via Chocolatey installieren # Man kann die Pakete hier durchsuchen: https://community.chocolatey.org/packages # Beispiele: choco install geforce-experience -y choco install dropbox -y choco install googlechrome -y choco install winrar -y choco install vlc -y # Später lassen sich alle Pakete automatisch mit diesem Kommando auslesen & updaten cup all -y - Klassische .exe Silent-Installation
# Download Setup-Datei, hier Beispiel PotPlayer
wget "https://t1.daumcdn.net/potplayer/PotPlayer/Version/Latest/PotPlayerSetup64.exe" -Outfile "$env:userprofile\Downloads\PotPlayerSetup64.exe"

# Installation
Start-Process -Wait -FilePath "$env:userprofile\Downloads\PotPlayerSetup64.exe" -ArgumentList '/S','/v','/qn' -passthru

# Setup-Datei wieder entfernen
rm "$env:userprofile\Downloads\PotPlayerSetup64.exe"
Ich hoffe, ihr habt ein bisschen was gelernt und werdet euren nächsten Rechner mit Teilen dieser Seite neu aufsetzen. Ihr könnt euch auch komplette Kommandos in ein .ps1-Skript abspeichern, das dann automatisch eure Einstellungen vornimmt.
In meinem eigenen privaten Skript, lasse ich weiterhin automatisch den Standardbrowser ändern. Unter Windows 11 ist das ja nicht mehr ganz so einfach. Dieses Thema ich in -DIESEM- Blogpost.


Keine Kommentare:
Kommentar veröffentlichen